1. Transfer Files from PC to iPhone iOS 12/11 Using Email
Using e-mail is an old method, but it still works. The basic idea is this:
Step 1. Open up your browser and go to your e-mail account.
Step 2. Compose a new e-mail and make yourself the recipient.
Step 3. Upload the file you want to transfer as an attachment, then send the e-mail.
Step 4. Go on your iPhone, sign into your e-mail account and download the attachment.

As you can see, it’s simple, but there are a few limitations.
For one, most web e-mail services put a limit on how big the files are or how many you can transfer.
In addition, if the file is not supported by your iPhone, your e-mail service will not convert the file automatically like TunesMate.
When you need to open the file, you need to go to the e-mail again. The downloaded files won’t be added into the specific built-in apps on iPhone.
3. Copy Files from PC to iPhone iOS 12/11 without iTunes but Dropbox
Dropbox is a useful cloud service. To transfer your files using Dropbox, try this:
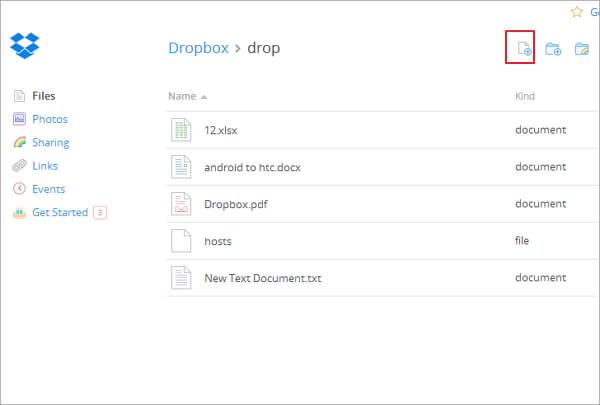
Step 1. Sign into Dropbox from your browser. Upload the file that you want to transfer.
Step 2. Install the Dropbox app to your iPhone if you haven’t already. Sign in.
Step 3. Download the file to your iPhone from Dropbox.
This method is similar to the e-mail method, except of course you can transfer more files, and Dropbox will also tolerate files of a larger size.
Limits
Some of the downsides however are that you have to have an Internet connection to do this (as with e-mail), and there are limits to the amount of files that you can upload to Dropbox without paying.
It’s also requires several steps (uploading, installing app and then downloading), instead of the easy one-step method.
The downloaded files won’t be added info the specific apps on iPhone. You need to go through Dropbox to access the files.
4. Transfer Files from PC to iPhone iOS 12/11 Using Mediamonkey
You can also use a tool like mediamonkey to transfer files. Here’s how:
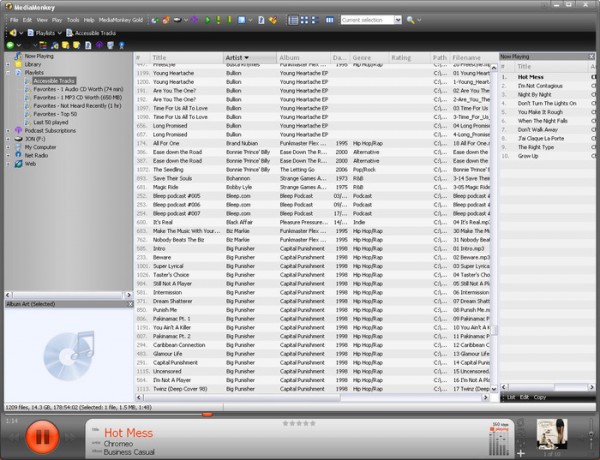
Step 1. Download MediaMonkey, then install it on your PC.
Step 2. Open MediaMonkey. Go to File > Add/Rescan Tracks to the Library
Step 3. Browse for the files that you want to transfer when the file browser window comes up.
Step 4. When you’re in the folder where the files are, click OK, and now the contents of the folder should be in the program library.
Step 5. Connect your iPhone to your computer.
Step 6. In the MediaMonkey application, an icon for your device should come up. Click it.
Step 7. MediaMonkey should start transferring the files. It will tell you when it’s done.
There are also some limitations to MediaMonkey, though.
For one, you can’t really choose individual files to transfer like you can with TunesMate.
Also, it won’t automatically convert files to an iOS-compatible format, so you’ll have to choose only files that work with iPhone.
It can’t work for Mac.Sponsor ads:Setup Dual Monitors in Windows 10 Computer 2019
Sponsor ads:Recover Deleted Video and Audio Files from Android Phone
Sponsor ads:Free File Recovery Software 2019 for Windows and Mac


No comments:
Post a Comment