Before we start:
DFU mode wipes out all the existing data from your device. Therefore, you should always back up your device before moving ahead with the process.
You can’t put your device into DFU mode, if Find My iPhone is enabled. Hence, be sure to turn it off. Open Settings app → Apple ID banner → iCloud → Find My iPhone and turn it off.
Besides, make sure you have the latest version of iTunes installed on the computer.
How to Put iPhone or iPad into DFU Mode
Step #1. To get started, connect the iPhone to your computer and launch iTunes.
Step #2. Now, ensure that your device icon shows up in the top left menu.
Step #4. Now, you turn off your device. Press and hold the sleep/wake button and swipe to power off.
Note: On your iPhone X, iPhone 8/8 Plus, you need to press and hold the side button and volume up/down button and then slide to power off.
Now, enter DFU mode on your device. The process differs based on the device.
On iPhone X, iPhone 8/8 Plus: Press and hold the Side button for 3 seconds and then press and hold the volume down button while still holding down the side button. Make sure to keep holding both buttons for 10 seconds. Next, you need to release the Side Button but continue to hold the volume down button for about 5 seconds. If your iPhone screen remains black, it will have entered DFU mode.
iPhone 7 or 7 Plus: Just press and hold the sleep/wake button for 3 seconds. Then, you need to press and hold the volume down button while still holding the side button. After 10 seconds, you have to release the sleep/wake button make sure to continue to press the volume down button. Next, you have to wait for 5 more seconds and release the volume down button.
iPhone 6s or older: Just press and hold the home button and the sleep/wake button simultaneously. Then, you need to release the ON/OFF button after 10 seconds, however, make sure to keep holding the Home button. Then, you need to wait for about 10 seconds and then let go the Home button.
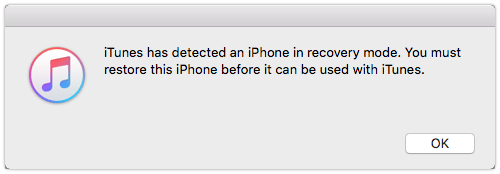
After you have entered DFU mode, iTunes will confirm that the device is in recovery mode. Click “OK.”
 Important: If your iPhone screen remains black, it will have entered DFU mode. But if you see iTunes logo on the screen, it means you have gone wrong. Hence, you will have to repeat the steps all over again.
Then, you can go ahead with the task and downgrade or update the device based on your need.
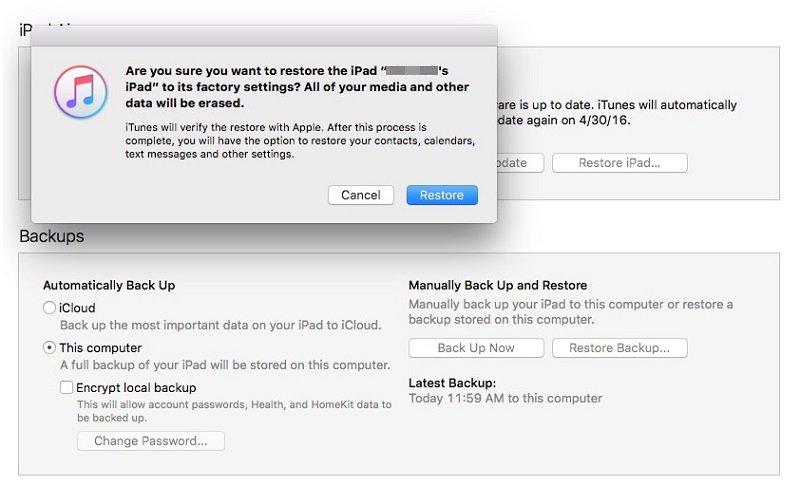
After your iPhone has been successfully restored, it will get out of DFU mode automatically.
But what if someone has put your iPhone into DFU mode, how can you get your device out of it? It‘s easy to exit this mode. Keep reading…
How to Exit DFU Mode on iPhone X, iPhone 8/8 Plus
To exit DFU mode, all you need to do is restart the device by holding down the power button and volume down button until you see the Apple logo.
How to Exit DFU Mode on iPhone 7/7 Plus
On iPhone 7/7 Plus, you have to press the side button and volume down buttons at once to get out of DFU mode.
How to Get iPhone 6s or Earlier or iPad Out of DFU Mode
On your iPhone 6s or earlier or iPad, you need to press and hold Home and Power buttons for about 10-12 seconds.
Then, release the Home button but quickly press and hold the Power button until the Apple logo comes up on the screen.
Wrapping up
Have any question? Shoot it in the comments below. Once more, don’t fail to give a chance to DFU when everything else doesn’t seem to be fixing any persistent issue on your device.
Gihosoft iPhone Data Recovery is a professional iPhone Data Recovery software to get back all your lost text message, photo, video, call history, note, contact and more from iPhone/iPad/iPod Touch. It offers a full solution to recover your lost data in different tough situations. Besides recovering data directly from iPhone, iPad and iPod touch, it also allows you to recover data from iCloud and iTunes backup files.


No comments:
Post a Comment